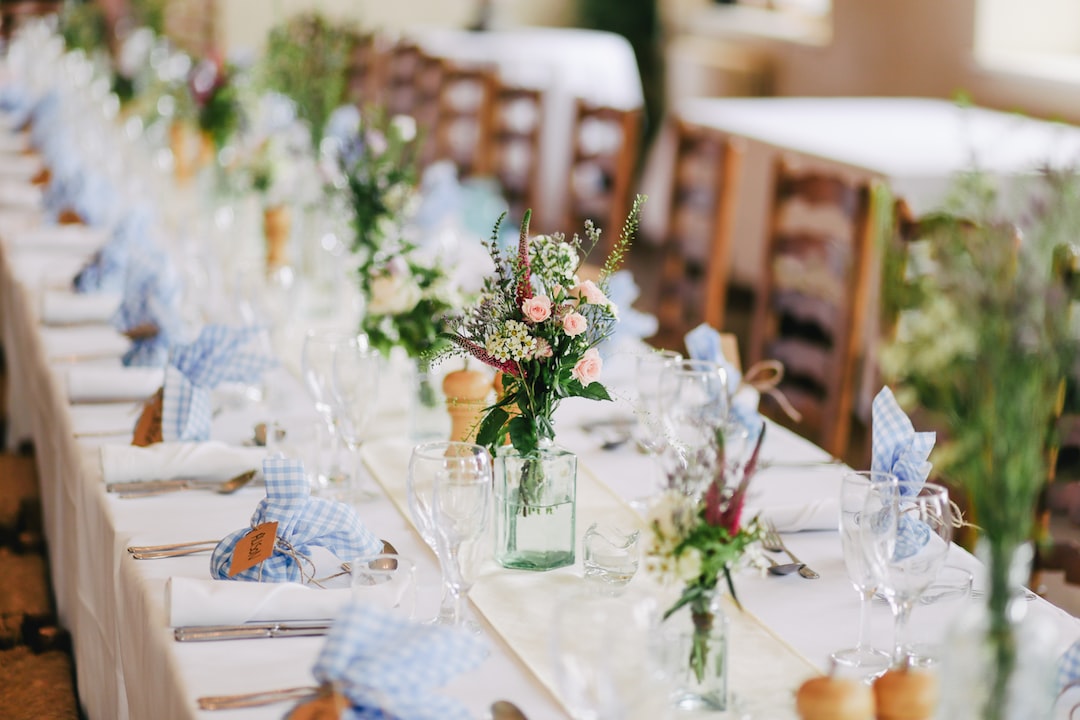
The best way to avoid any confusion or awkwardness when addressing your wedding invitations is to use address labels.
Address labels make it easy to ensure that your invitations are correctly addressed, and they also add a nice personal touch.
You can find a variety of address label designs online, or you can create your own.
Read on to find out more!
How to Make Address Labels for Wedding Invitations
What to know about Address Labels for Wedding Invitations
The most common size for wedding invitation envelopes is A7, which is 4-14″ x 5-12″.
If your envelopes are a different size, you’ll need to adjust the dimensions of your labels accordingly. Once you’ve chosen the right size for your labels, you’ll need to select the material. Address labels are typically made of paper or vinyl.
Paper labels are the most common type, but vinyl labels are more durable and water -resistant.
If you’re not sure which type of label to choose, we recommend paper labels for most invitations. Now that you’ve selected the size and material for your labels, it’s time to print them!
You can print address labels at home using a standard printer and label paper.
For the best results, we recommend using a laser printer. If you don’t have access to a laser printer, you can also print your labels at a printing shop.
You could also chose to email the invitations to guests. But a physical invite is more traditional.
Address Labels 101: How to Choose the Right Size and Shape for Your Envelopes
When it comes to addressing your wedding invitations, there are a few things to keep in mind. First, you’ll want to make sure you choose the right size and shape for your labels.
Second, you’ll want to make sure your labels are easy to read. And third, you’ll want to make sure you use the proper etiquette when addressing your wedding invitations.
Size and shape are important when it comes to address labels. You’ll want to make sure the labels are large enough to be easily read, but not so large that they look out of place on your envelopes.
You’ll also want to make sure the labels are the right shape for your envelopes. For example, if you have square envelopes, you’ll want to use square labels.
When it comes to the wording on your labels, you’ll want to use proper etiquette. This means using Mr. and Mrs. when addressing married couples, and Ms. or Miss when addressing single women.
You’ll also want to use the proper titles for your guests, such as Dr. or Reverend. Finally, you’ll want to make sure your labels are easy to read.
The easiest way to do this is to use a simple font that is easy to read. You’ll also want to make sure the labels are a light color so they’re easy to see.
With these tips in mind, you should have no problem choosing the right size and shape for your address labels. And you’ll be able to use the proper etiquette when addressing your wedding invitations.
How to Make Address Labels for Wedding Invitations with Microsoft Word
Making Address Labels for Wedding Invitations with Microsoft Word. Wedding invitations are one of the first things you’ll need to take care of when planning your big day.
And while there are plenty of ways to create beautiful invitations, sometimes the simplest method is the best. Creating address labels for your wedding invitations using Microsoft Word is a quick and easy way to get the job done.
Plus, it’s a great way to save time and money.
Here’s how to do it:
- Start by opening Microsoft Word and creating a new document.
- Then, click on the “Mailings” tab and select “Create Labels.”.
- A new window will pop up
In the “Address” field, type in your mailing list.
- Next, select the label type and size you want to use.
- Once you’ve made your selections, click “OK.”.
- Your labels will now appear in the document.
- To print, click on the “File” tab and select “Print.”.
- Make sure the “Print” dialog box is set to “Labels” and then click “OK.”.
- Your labels will now print out on the selected label type and size.
Creating address labels for your wedding invitations is a quick and easy way to get the job done. Plus, it’s a great way to save time and money.
How to Print Address Labels for Wedding Invitations at Home
If you’re anything like me, you want your wedding invitations to be perfect. And part of making them perfect is printing address labels that look great and save you time.
Fortunately, printing address labels for your wedding invitations at home is easy, and I’m here to show you how!
To print address labels for your wedding invitations at home, you’ll need:
- A printer
- Labels (I recommend Avery labels)
- An address list
- A pen or pencil
- A ruler or straight edge (optional)
Now that you have all of your supplies, you’re ready to get started!
Here’s how to print address labels for your wedding invitations at home:
1. Start by Creating an Address List.
This can be done in a word processing program like Microsoft Word, or you can use a Google Docs spreadsheet.
2. Next, Open the Labels in Your Word Processing Program.
I like to use Avery labels because they have a lot of great options, but you can use any brand of labels that you like.
3. Once the Labels are Open, Begin Typing Your Addresses Into the Labels.
If you’re using a spreadsheet, you can simply copy and paste your addresses into the labels.
4. When You’re Finished, Print Your Labels.
I recommend printing a few extra in case you make any mistakes.
5. Finally, Use a Straight Edge or Ruler to Help You Cut Out the Labels.
And that’s it! You’ve now successfully printed address labels for your wedding invitations at home.
5 Tips for Making Perfect DIY Address Labels for Your Wedding Stationery
If you’re looking to add a personal touch to your wedding invitations, why not make your own address labels?
It’s a simple DIY project that can really make your invitations stand out. Plus, it’s a great way to save money on postage.
Here are five tips for making perfect DIY address labels for your wedding stationery:
1. Choose the Right Label Material.
There are a few different types of label material you can choose from, depending on your budget and the look you’re going for. If you’re looking for a more premium look, consider investing in clear labels.
They give your invitations a sleek, modern look.
2. Use a Quality Printer.
If you’re going to DIY your address labels, you’ll need to invest in a good quality printer. Otherwise, your labels will look blurry and unprofessional.
3. Use a Template.
To make things easier, use a template when designing your address labels. This way, you don’t have to worry about getting the sizing right.
Simply find a template online that matches the size of your labels, and then type or paste your addresses into the template.
4. Print on the Label Sheet.
Once you’ve designed your labels, it’s time to print them out. Make sure you print on the label sheet itself, rather than on plain paper.
This will ensure that the labels are the correct size and that they’ll peel off the sheet easily.
5. Trim the Labels.
Finally, trim the labels to their desired size. You can use a pair of scissors or a paper trimmer for this.
Once they’re trimmed, you can affix them to your wedding invitations with double-sided tape.